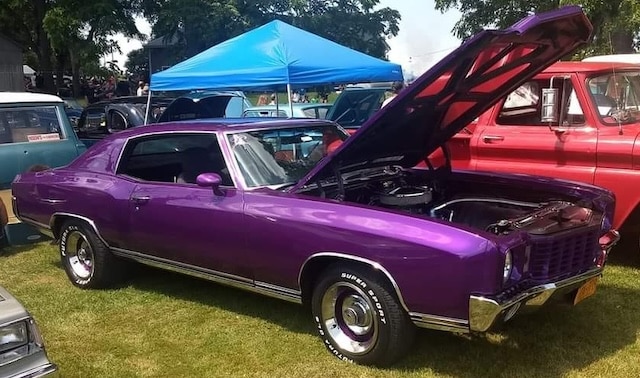
Flow Coating – Make Your Show Cars Stand Out
Creating custom auto paint jobs that are marketable to your potential clients is all about making your customer’s rides stand out from the masses. Most focus on unique colors and elaborate graphics to create a paint job that has a lot of visual appeal. Of course customers and painters want a “wet look” glass like finish on their projects but everyone expects that from a paint job. If we are really looking for something that stands out beyond the normal “nice” paint job, even on a show room floor, we need to go beyond traditional techniques.

Often customers and even some custom painters are not aware of a technique to make a custom project really stand out in terms of gloss and depth appearance. This process is called flow coating and has been used successfully for many decades by some of the top custom painters in the world. We like to call it art but it is more like work for sure but the results in the end can simply be amazing. The art of flow coating involves application of multiple layers of a quality clear coat in multiple clearing sessions to achieve a gloss and depth unseen by other techniques. The process begins with the normal application of a base coat clear coat finish where a base coat is applied then the clear coat is applied shortly thereafter. This is where the painting aspect of 99% of all paint jobs ends. However, since we want to create a top 1% type finish, we’re going beyond this step for our custom paint job. Next we will allow the clear coat to cure for at least 24 hours then carefully sand with a fine grit sand paper (P600 is my favorite). I personally like to use a DA with a soft back bad here because we absolutely want to avoid breaking through our clear at any point. You could also wet sand or block sand by hand if you are a really up for some punishment. The goal is to number one remove all the gloss from the cured clear coat and number two to remove any orange peel in the first clear application session. Once you have the old clear sanded well, you need to wipe the surface clean with a quality surface cleaner recommended by your paint supplier. Once you have your vehicle ready to paint again you’ll want to mix your clear as you normally would but we like to add an additional 5-10% urethane reducer suitable for your paint of choice. This slight over reduction aids in atomizing the clear even more and allows for even better flow and leveling on application. Then we apply 3-4 coats of clear to the vehicle following recommended flash times and techniques from your paint brand. Once it’s dry polish as needed (if needed) to remove any imperfections and stand back and admire your shop top quality finish. You can use this technique on your car or motorcycle paint jobs for finishes that truly stand out.
